Give Your Old Laptop a Second Life: Build a NAS with Debian
Learn how to install Debian and set up your machine as a server with Btrfs redundancy and SMB file sharing for reliable data storage and access.
Transforming an old laptop into a network-attached storage (NAS) system is a great way to breathe new life into outdated hardware while providing a reliable and cost-effective file server for your home network. In this guide, I’ll walk you through the process of installing Debian on your laptop and configuring it as a NAS. We’ll also set up file sharing through Samba (SMB) so you can access your files from any device on your network.
Laptop Specifications
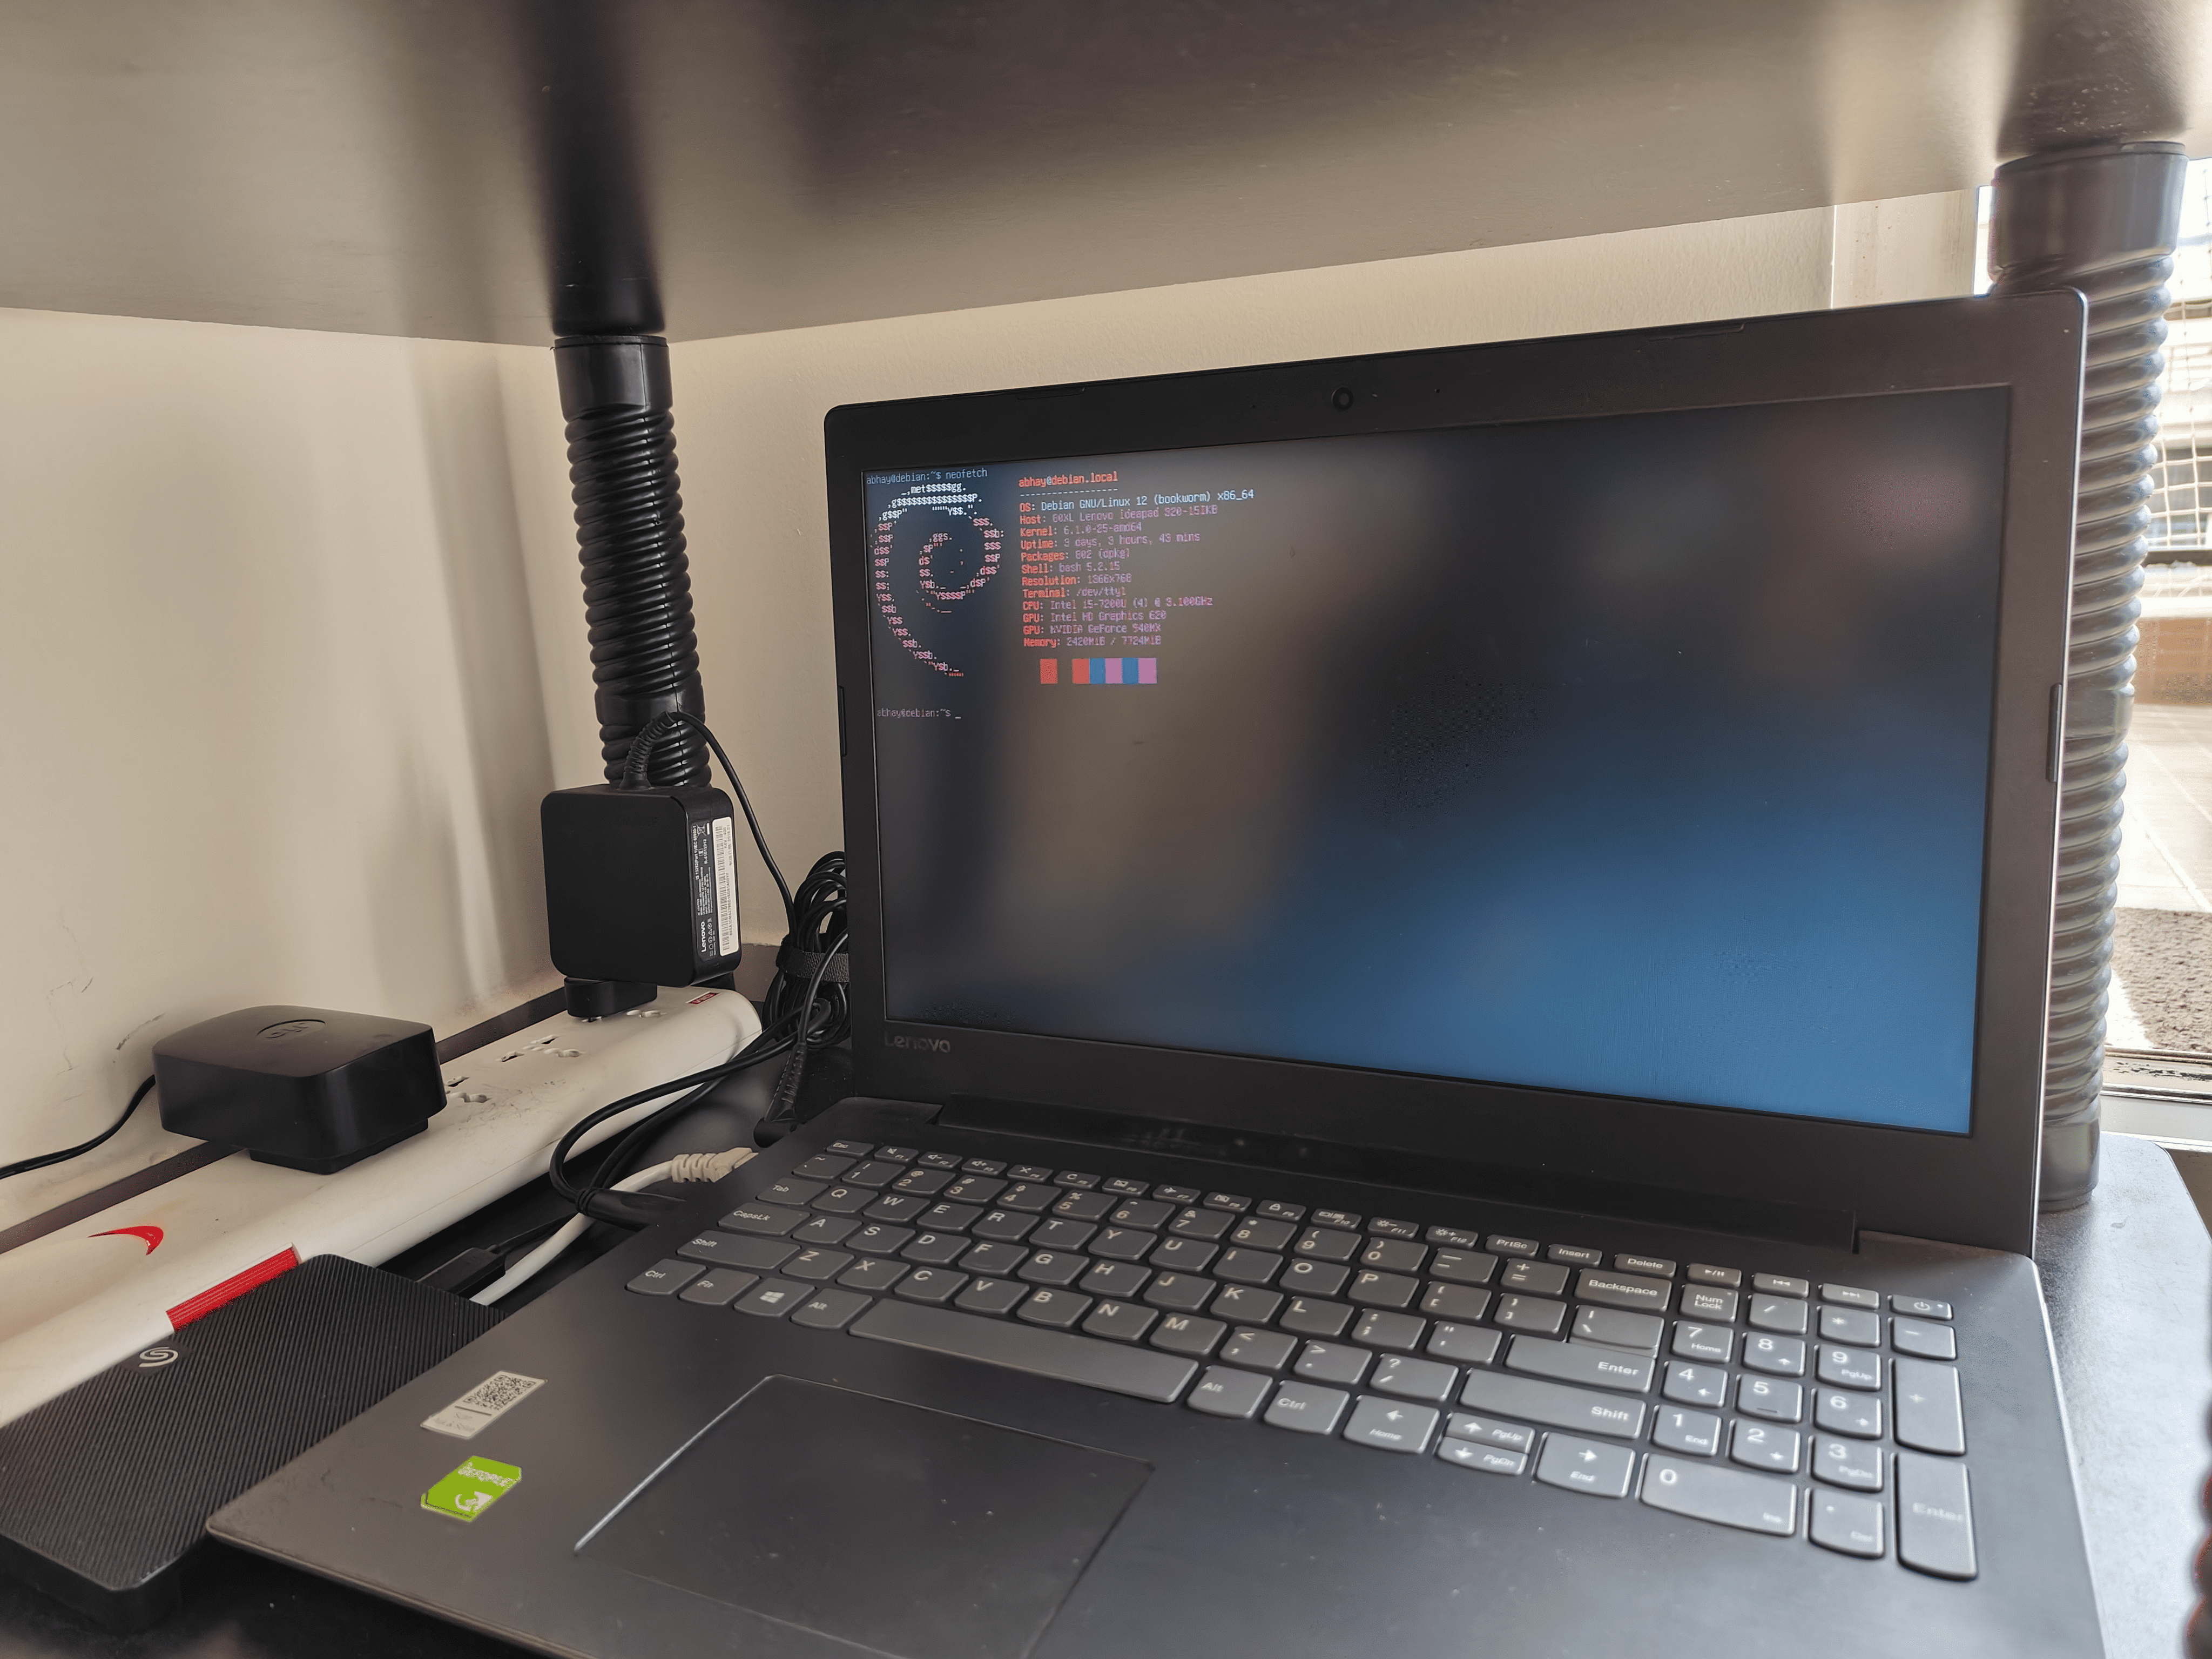
- Processor: Intel Core i5-7200U
- RAM: 8GB
- Storage: 1TB internal HDD, 256GB SSD, 1TB external HDD
- GPU: NVIDIA 940MX
- Filesystem: Btrfs with mirrored storage (1TB for data, 1TB for redundancy)
With this setup, let’s jump into the steps to prepare and install Debian.
Step 1: Prepare Installation Media
- Download Debian: Visit the Debian website and download the “netinst” ISO for a minimal and lightweight installation.
- Create a Bootable USB: Use a tool like Rufus (Windows) or Balena Etcher (Linux) to create a bootable USB drive:
- Insert your USB drive.
- Select the downloaded Debian ISO.
- Start the flashing process.
Make sure the USB drive is at least 8GB in size.
Step 2: Backup Important Data
Before proceeding, it’s always a good idea to back up any important data from your laptop. Although Btrfs with redundancy provides some protection, creating an additional external backup ensures that nothing valuable is lost during installation.
Step 3: Boot into the Debian Installer
- Access BIOS/UEFI: Restart your laptop and press the appropriate key (e.g.,
F2,F12,DEL) to enter the BIOS/UEFI menu. - Set USB Boot Priority: Change the boot order to prioritize booting from the USB drive.
- Start the Installer: Save your changes and reboot. The Debian installer should load, initiating the installation process.
Step 4: Debian Installation Process
1. Choose Installation Mode
Select the graphical installer for an easier setup. This option simplifies navigation through the installation process.
2. Configure Network
Connect to a stable wired or wireless network during installation. This ensures the installer can download essential packages.
3. Partition Your Disks
Here’s a simple partitioning scheme for your NAS:
- 256GB SSD:
/(root) and/home: Use ext4 for the root and home directories.
- 1TB internal HDD:
- Set up Btrfs with RAID1 (mirroring) for data redundancy.
- 1TB external HDD:
- Use this for backups and additional media storage.
4. Install the Base System
During package selection, choose “standard system utilities” and “SSH server” to enable remote management and ensure you have essential tools.
5. Install the Bootloader
Install GRUB on the SSD to manage your system’s boot process. If you’re dual-booting with another operating system, GRUB will help manage both.
Step 5: Configure the System
1. Update the System
After installation is complete, log in and update your system:
1
sudo apt update && sudo apt upgrade -y
2. Set Up Btrfs
To set up Btrfs for data storage with redundancy:
1
2
sudo mkfs.btrfs -m raid1 -d raid1 /dev/sdX /dev/sdY
sudo mount /dev/sdX /mnt
Replace /dev/sdX and /dev/sdY with the correct device identifiers for your drives.
3. Install and Configure Samba (SMB)
To share files across your network, we’ll install and configure Samba:
- Install Samba:
1
sudo apt install samba
- Edit the Samba Configuration File:
1
sudo nano /etc/samba/smb.conf
Add the following configuration to share a folder:
1
2
3
4
5
[Shared]
path = /mnt
browseable = yes
writable = yes
valid users = yourusername
- Create a Samba User:
1
sudo smbpasswd -a yourusername
- Restart Samba to Apply Changes:
1
sudo systemctl restart smbd
Your shared folder should now be accessible on your network.
Final Thoughts
Congratulations! You’ve successfully converted your old laptop into a powerful NAS running Debian. With the added benefits of Samba for file sharing and Btrfs for data redundancy, you now have a reliable and efficient file server.
In the next post, I’ll show you how to enhance your NAS by setting up Plex, Immich, and a VPN for secure remote access. If you have any questions or additional tips, feel free to share them in the comments. Happy hosting!